考试系统:答题页面
写完了答卷的后端部分,这节来写下前端页面。
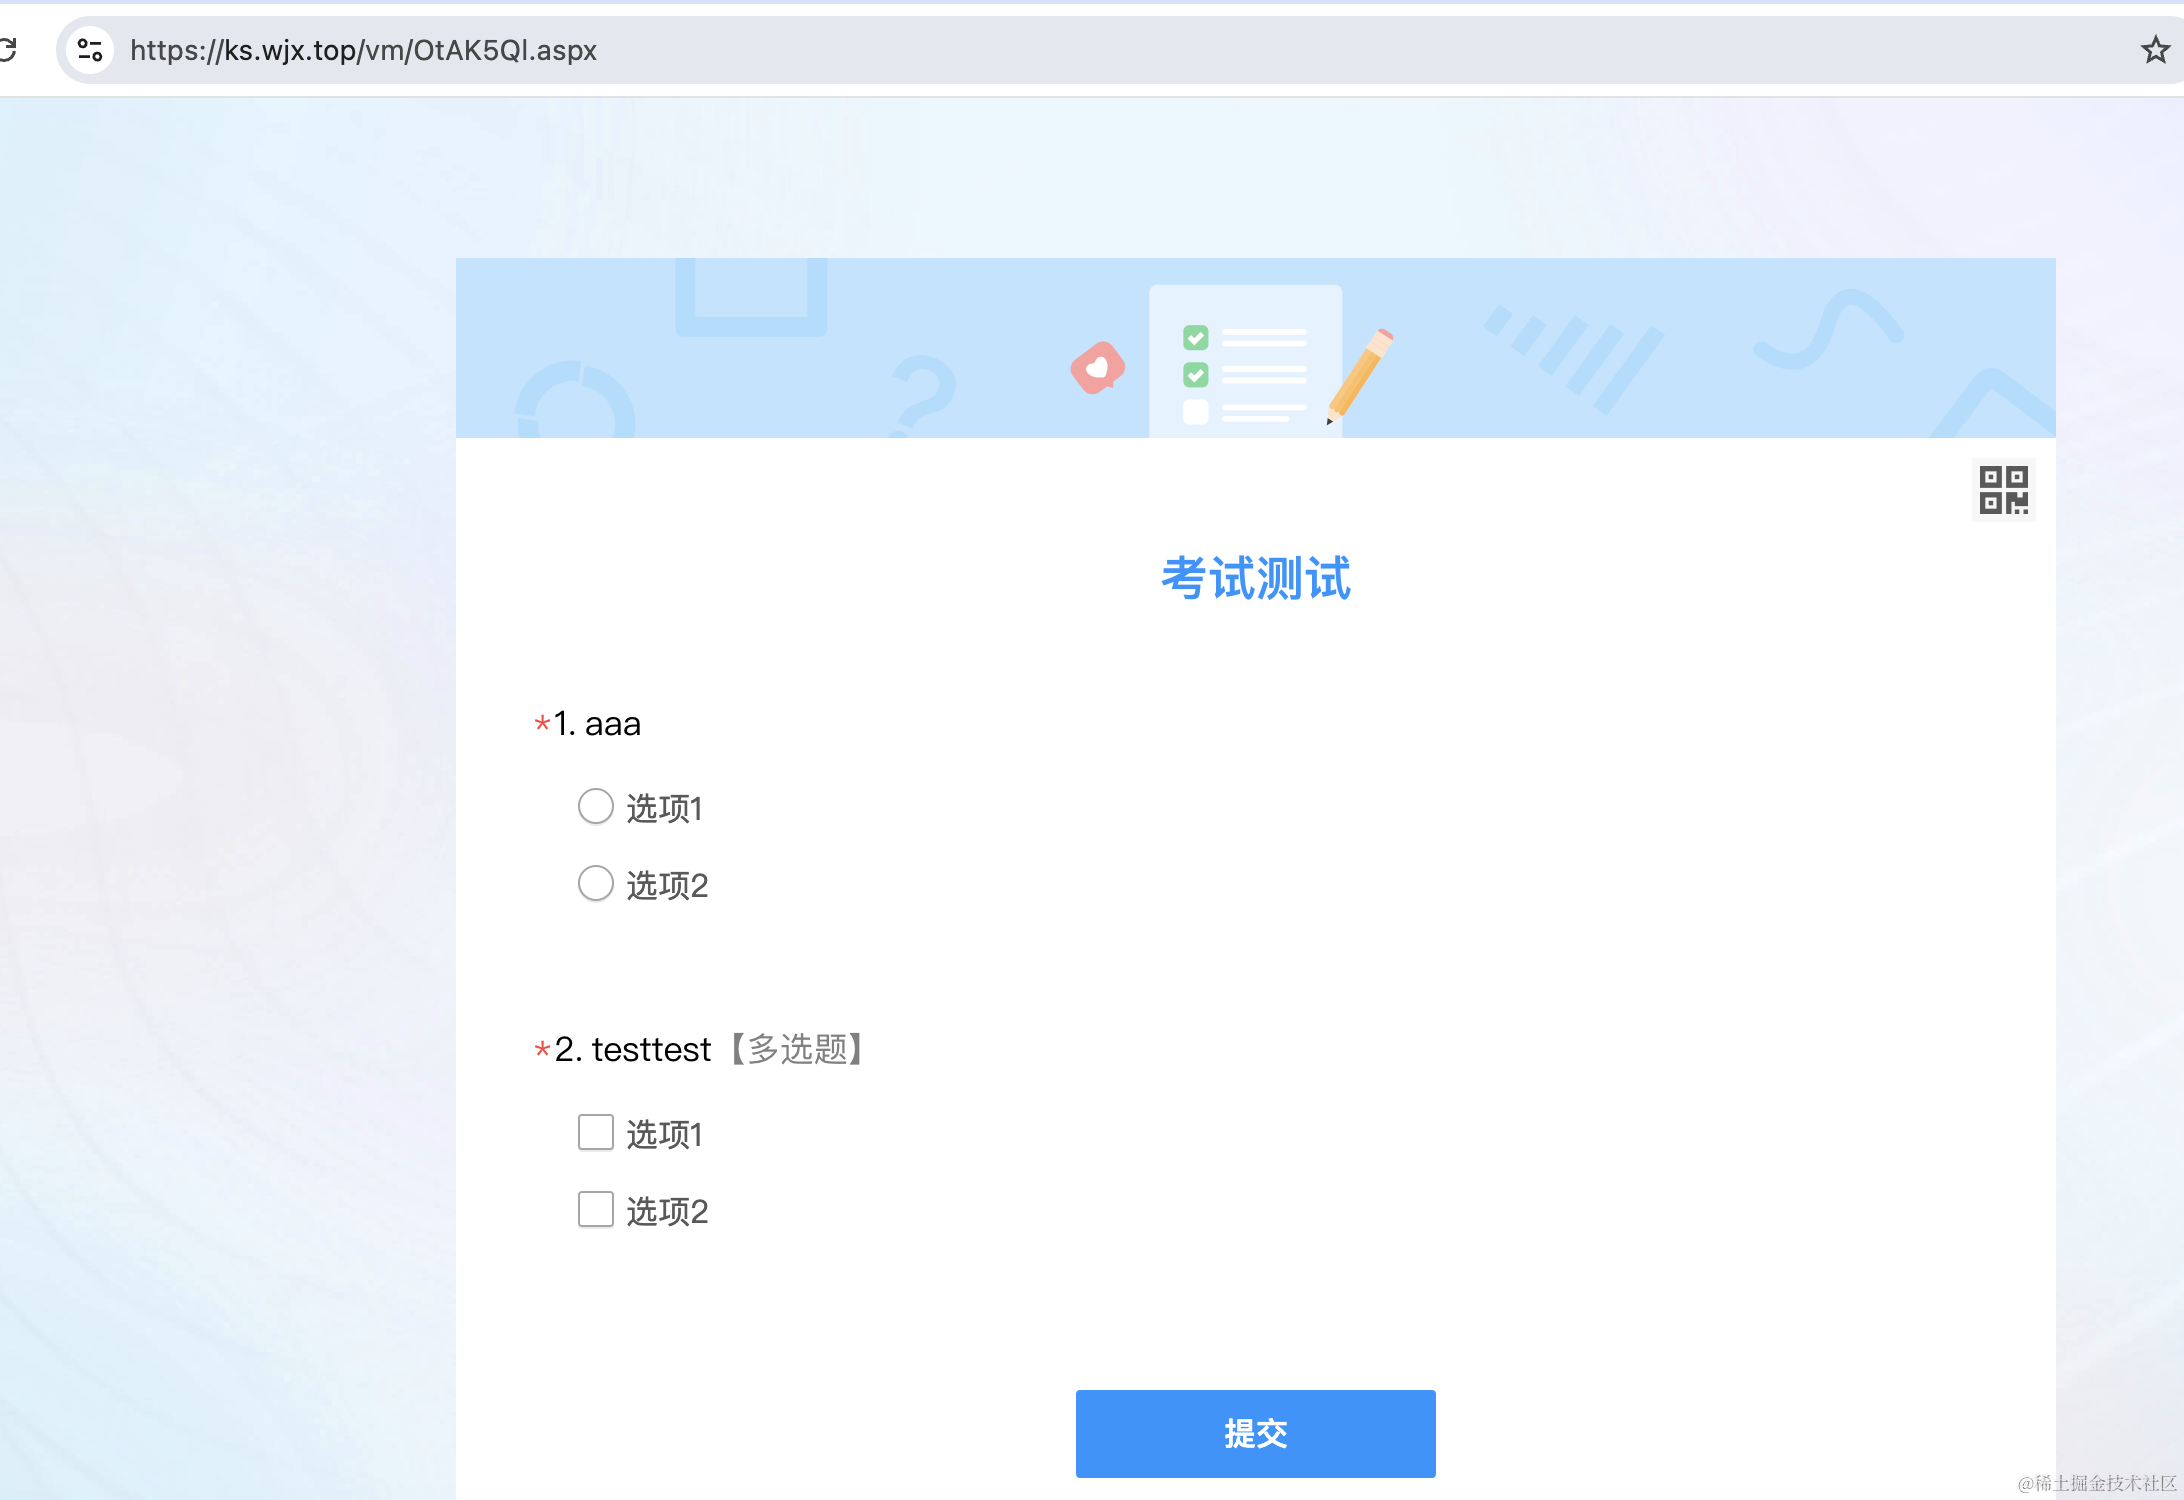
在问卷星里,编辑完试卷后,点击发布后,会生成链接和二维码:

打开链接就可以答题了:

答完点提交会立刻判卷,给出分数,还可以查看正确答案和解析:
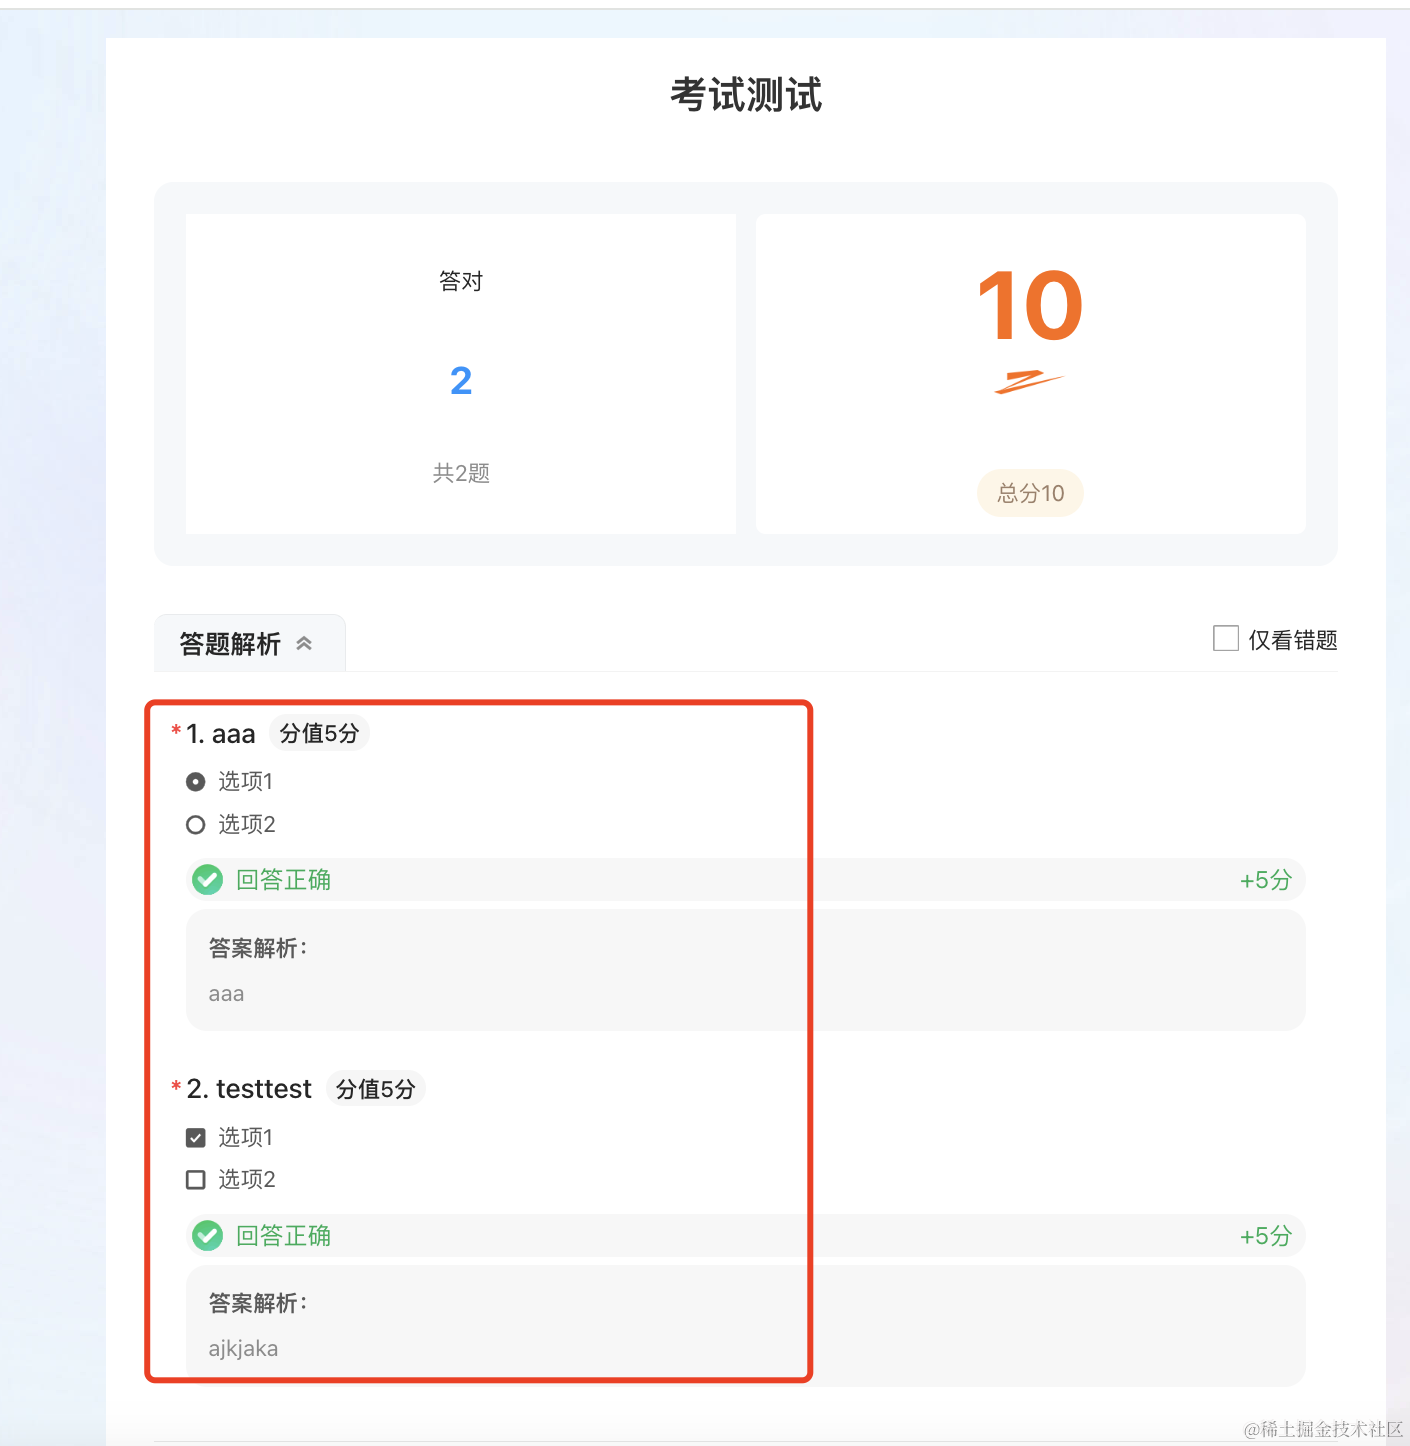
这节我们来实现这部分功能。
首先给编辑按钮加上跳转编辑器的链接:
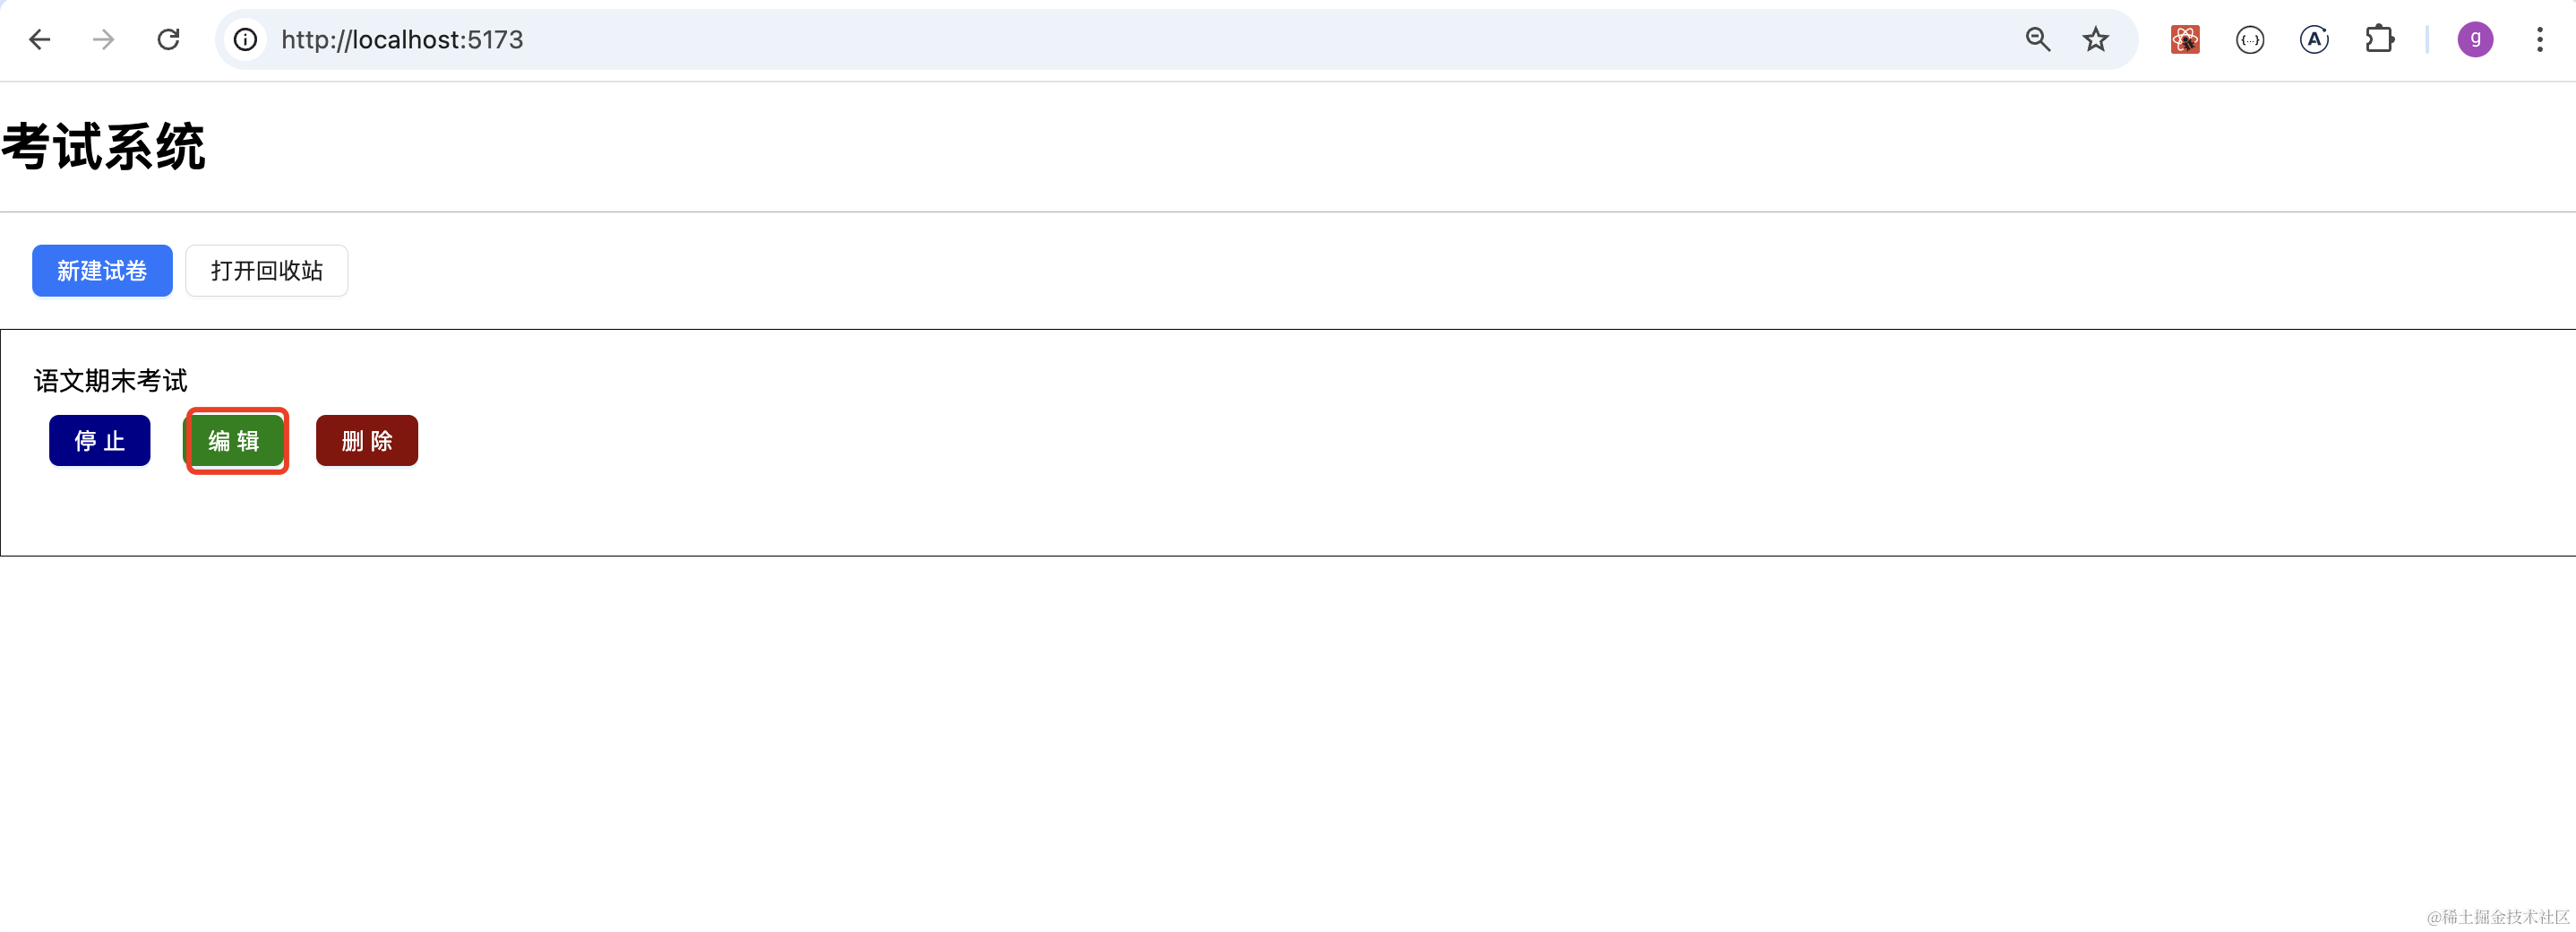
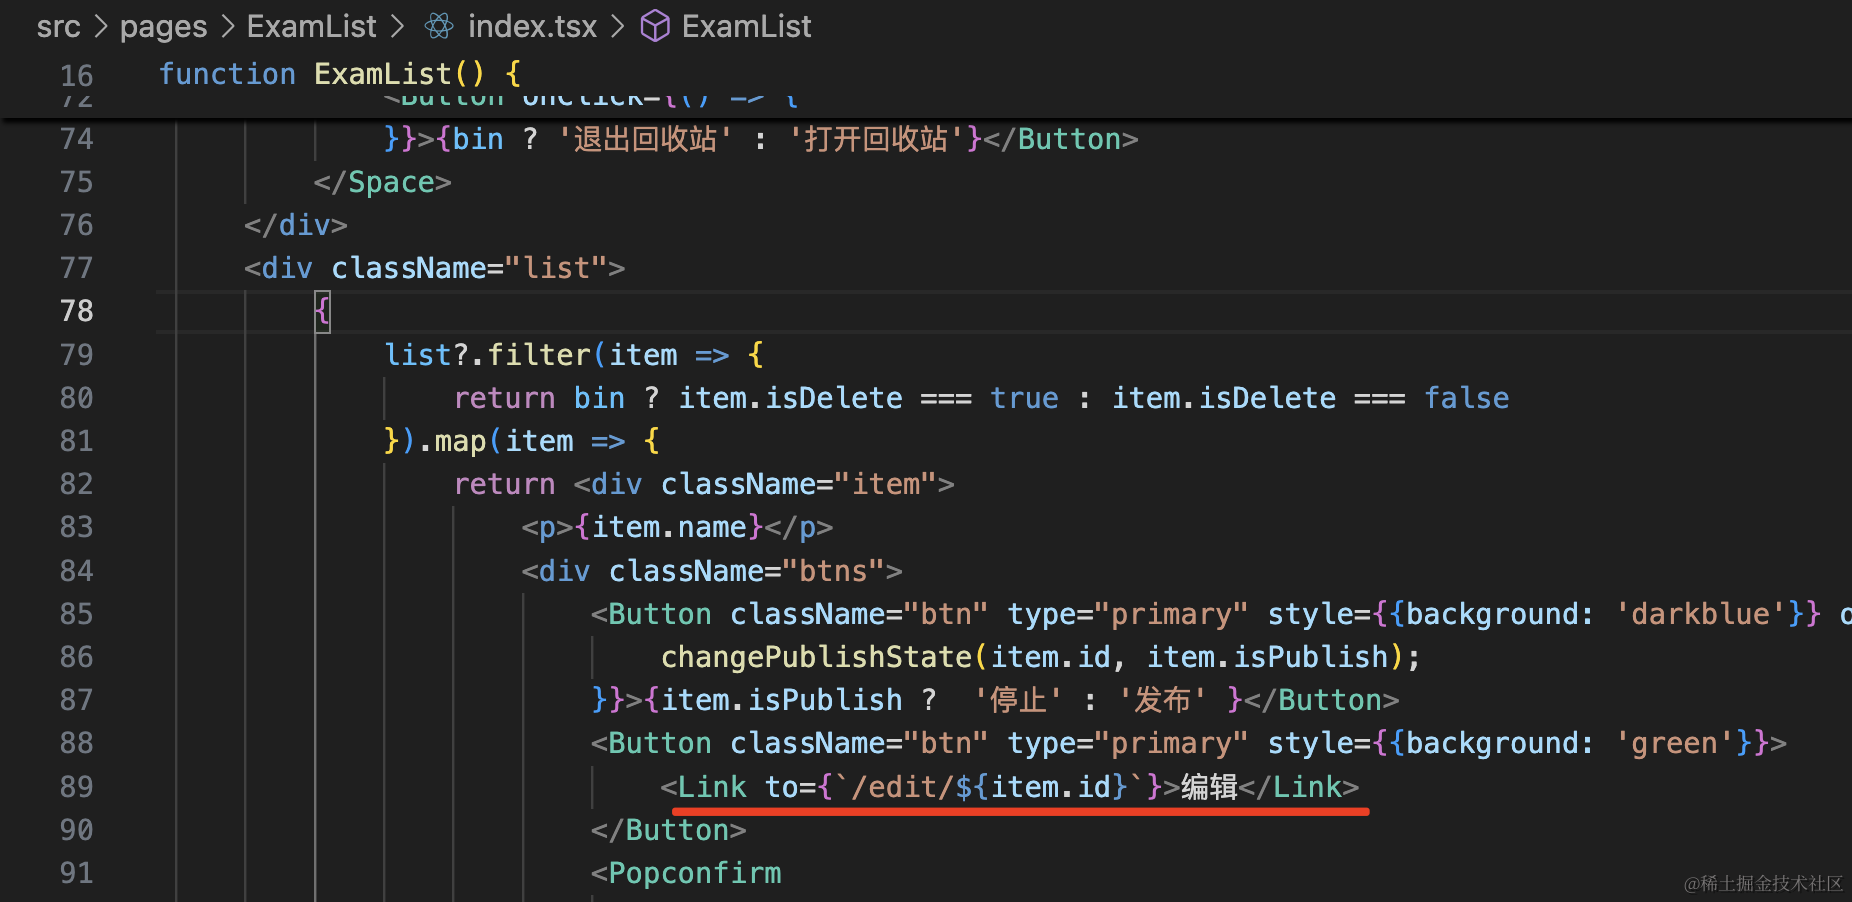
<Link to={`/edit/${item.id}`}>编辑</Link>
试下效果:
跳转成功,id 也是对的。
我们编辑下,点击保存:
加个返回按钮:
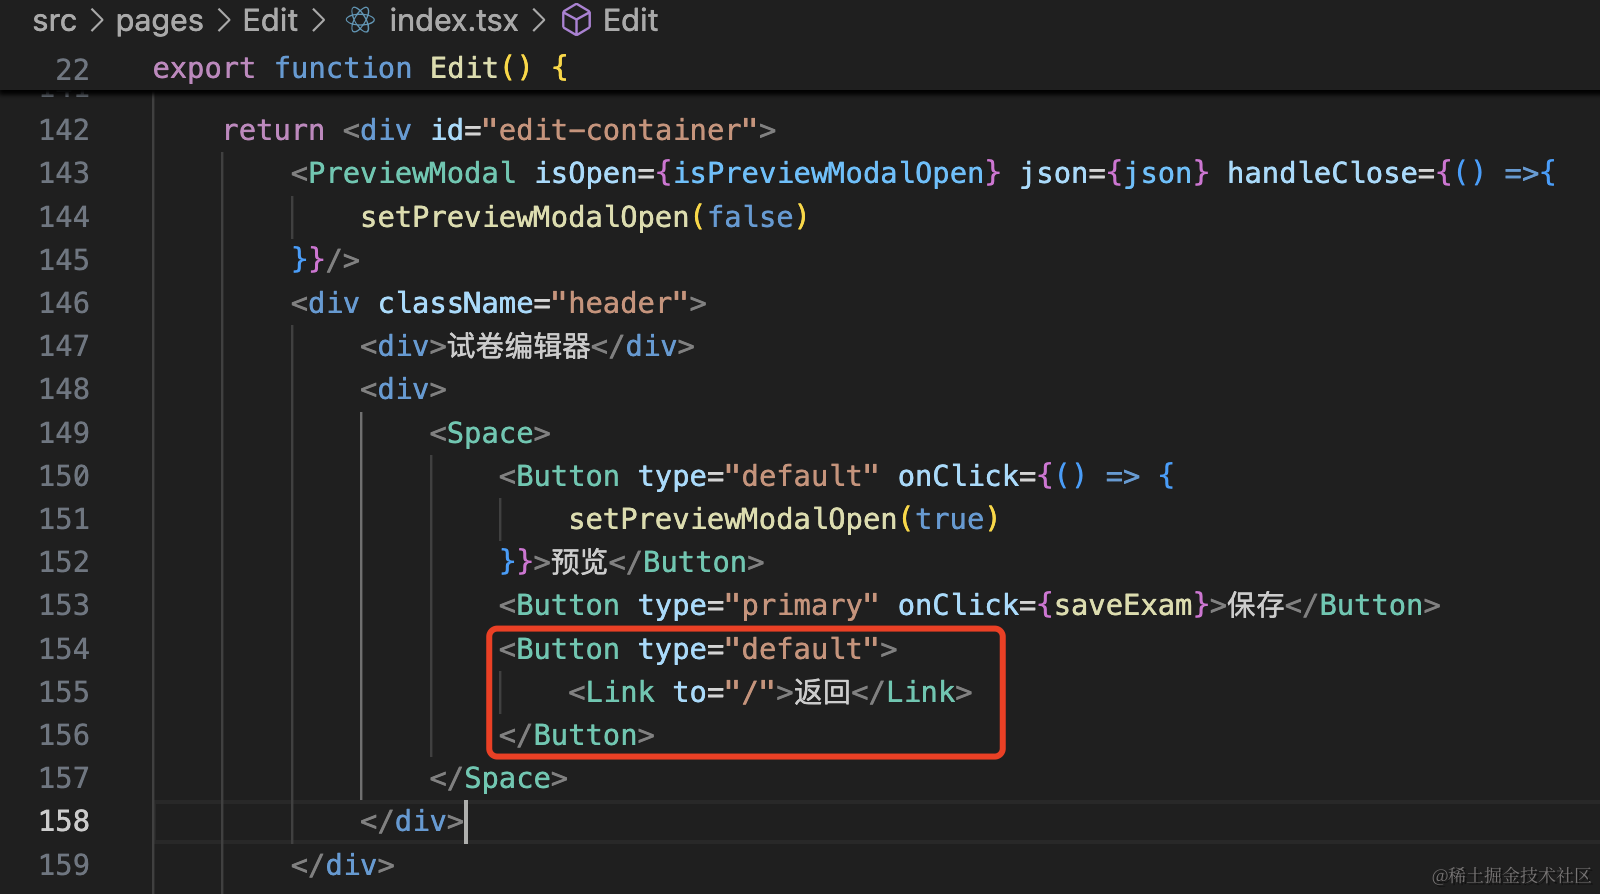
<Button type="default">
    <Link to="/">返回</Link>
</Button>
编辑完,点击保存,然后返回列表页就好了。
然后生成考试链接:
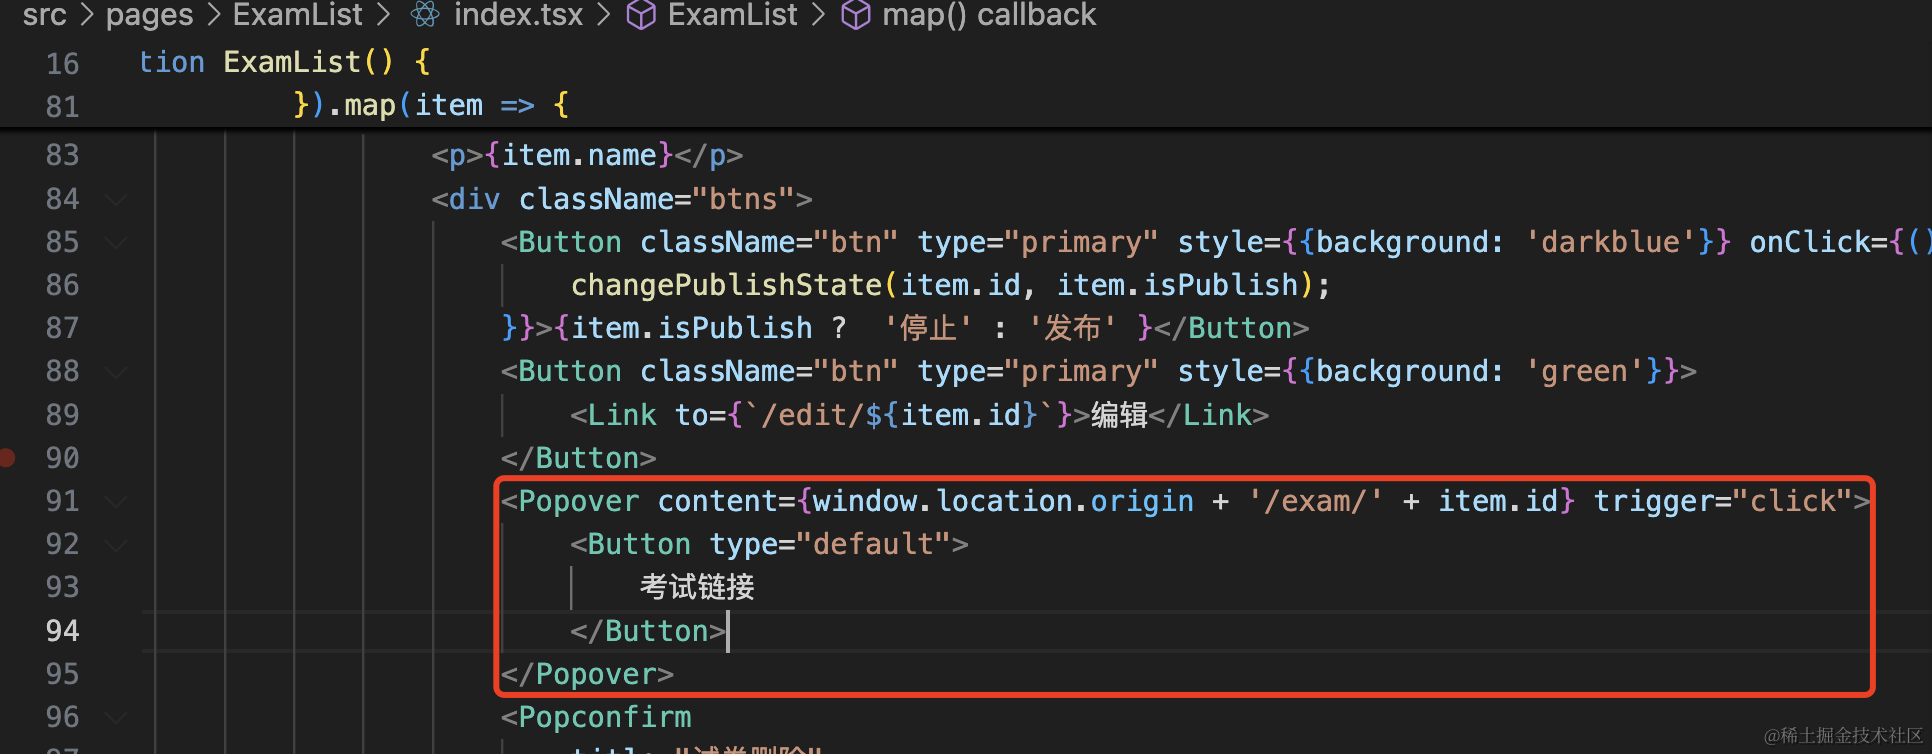
用 Popover 加个考试连接按钮。
<Popover content={window.location.origin + "/exam/" + item.id} trigger="click">
    <Button type="default">考试链接</Button>
</Popover>
复制这个链接打开就是试卷。
当然,我们还没实现这个路由。
加一下:
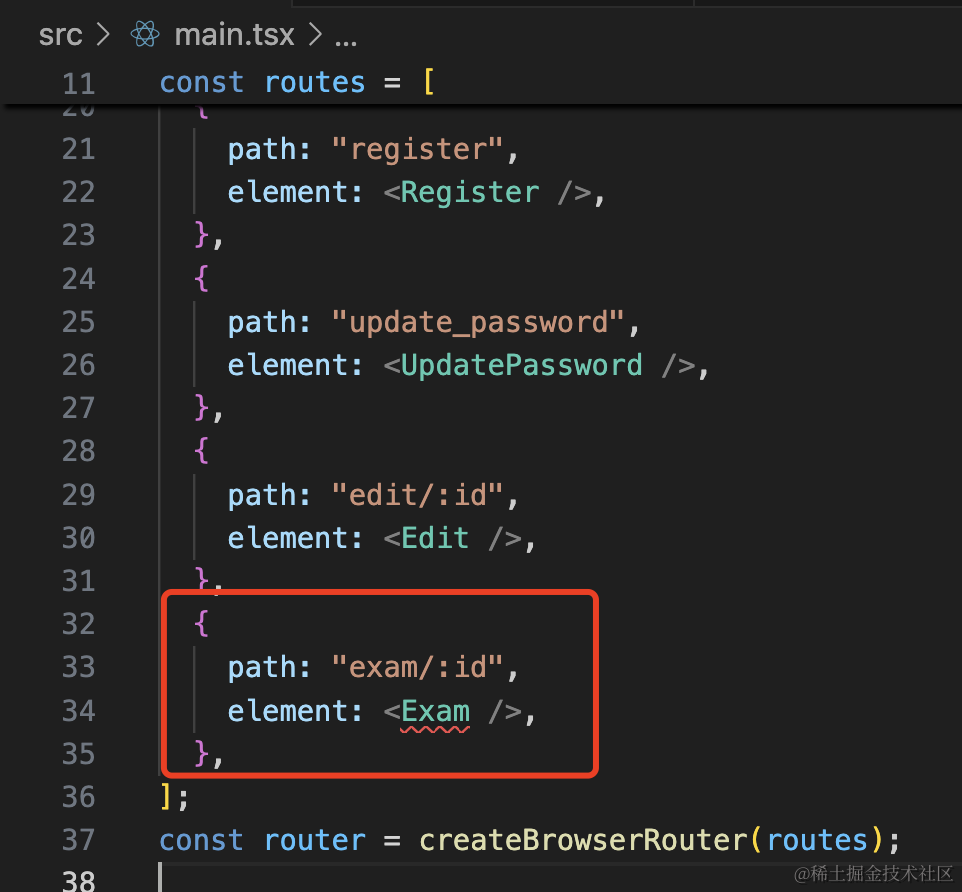
{
    path: "exam/:id",
    element: <Exam />,
},
然后实现下这个组件:
pages/Exam/index.tsx
import { useParams } from "react-router-dom";

export function Exam() {
    let { id } = useParams();

    return <div>Exam: {id}</div>;
}
这个页面要做的事情就是拿到 json,根据 json 渲染表单:
然后点击提交的时候保存答卷。
先渲染下 json:
import { useEffect, useState } from "react";
import { useParams } from "react-router-dom";
import { Question } from "../Edit";
import { examFind } from "../../interfaces";
import { Button, Checkbox, Input, message, Radio } from "antd";
import "./index.scss";

export function Exam() {
    let { id } = useParams();
    const [json, setJson] = useState<Array<Question>>([]);

    async function query() {
        if (!id) {
            return;
        }
        try {
            const res = await examFind(+id);
            if (res.status === 201 || res.status === 200) {
                try {
                    setJson(JSON.parse(res.data.content));
                } catch (e) {}
            }
        } catch (e: any) {
            message.error(e.response?.data?.message || "系统繁忙,请稍后再试");
        }
    }

    useEffect(() => {
        query();
    }, []);

    function renderComponents(arr: Array<Question>) {
        return arr.map((item) => {
            let formComponent;
            if (item.type === "radio") {
                formComponent = (
                    <Radio.Group>
                        {item.options?.map((option) => (
                            <Radio value={option}>{option}</Radio>
                        ))}
                    </Radio.Group>
                );
            } else if (item.type === "checkbox") {
                formComponent = <Checkbox.Group options={item.options} />;
            } else if (item.type === "input") {
                formComponent = <Input />;
            }

            return (
                <div className="component-item" key={item.id}>
                    <p className="question">{item.question}</p>
                    <div className="options">{formComponent}</div>
                </div>
            );
        });
    }

    return (
        <div className="exam-container">
            {renderComponents(json)}
            <Button type="primary" className="btn">
                提交
            </Button>
        </div>
    );
}
index.scss
.exam-container {
    width: 800px;
    margin: 30px auto;

    .component-item {
        margin: 20px;

        line-height: 40px;
        font-size: 20px;
    }
    .btn {
        width: 300px;
    }
}
请求 examFind 接口,拿到 json 之后调用 renderComponents 渲染。
加上一个提交按钮。
看下效果:
然后做下点击提交按钮的处理。
我们按照这种格式来保存答卷:
[
    {
        "id": 1,
        "answer": "xxx"
    },
    {
        "id": 2,
        "answer": "yyy"
    }
]
每个元素对应一道题的答案,id 是题目 id,answer 是答案。
interfaces/index.tsx 加一下提交答案的接口:
const answerServiceInstance = axios.create({
    baseURL: "http://localhost:3003/",
    timeout: 3000,
});

answerServiceInstance.interceptors.request.use(requestInterceptor);

answerServiceInstance.interceptors.response.use(
    responseIntercepor,
    responseErrorIntercepor
);

export async function answerAdd(data: { examId: number; content: string }) {
    return await answerServiceInstance.post("/answer/add", data);
}
这里调用答案微服务的接口需要单独创建一个 axios 的实例。
然后在页面调用下:
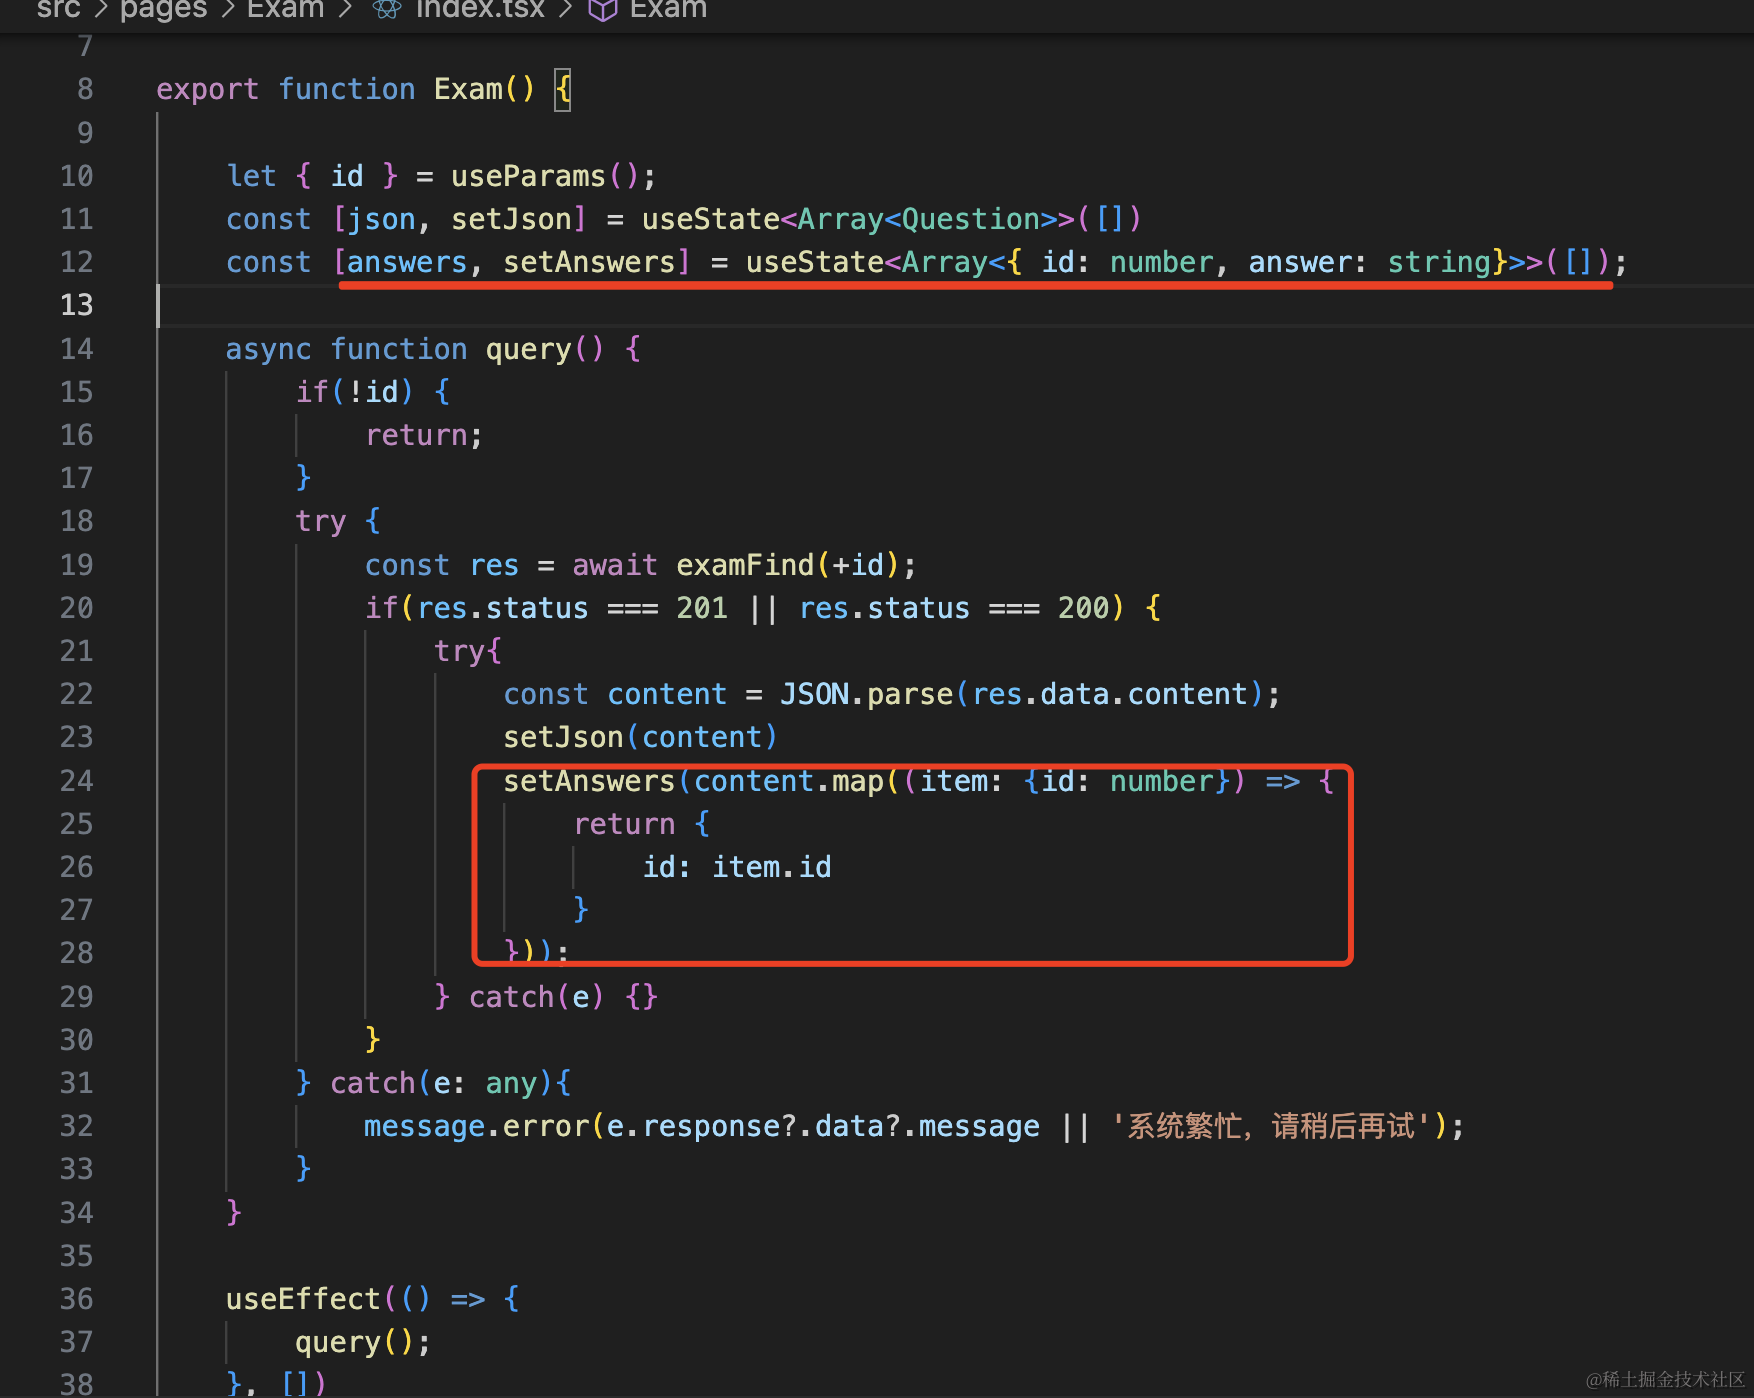
加一个 state 来存储 answer 数组,拿到 json 的时候初始化 answers 数组。
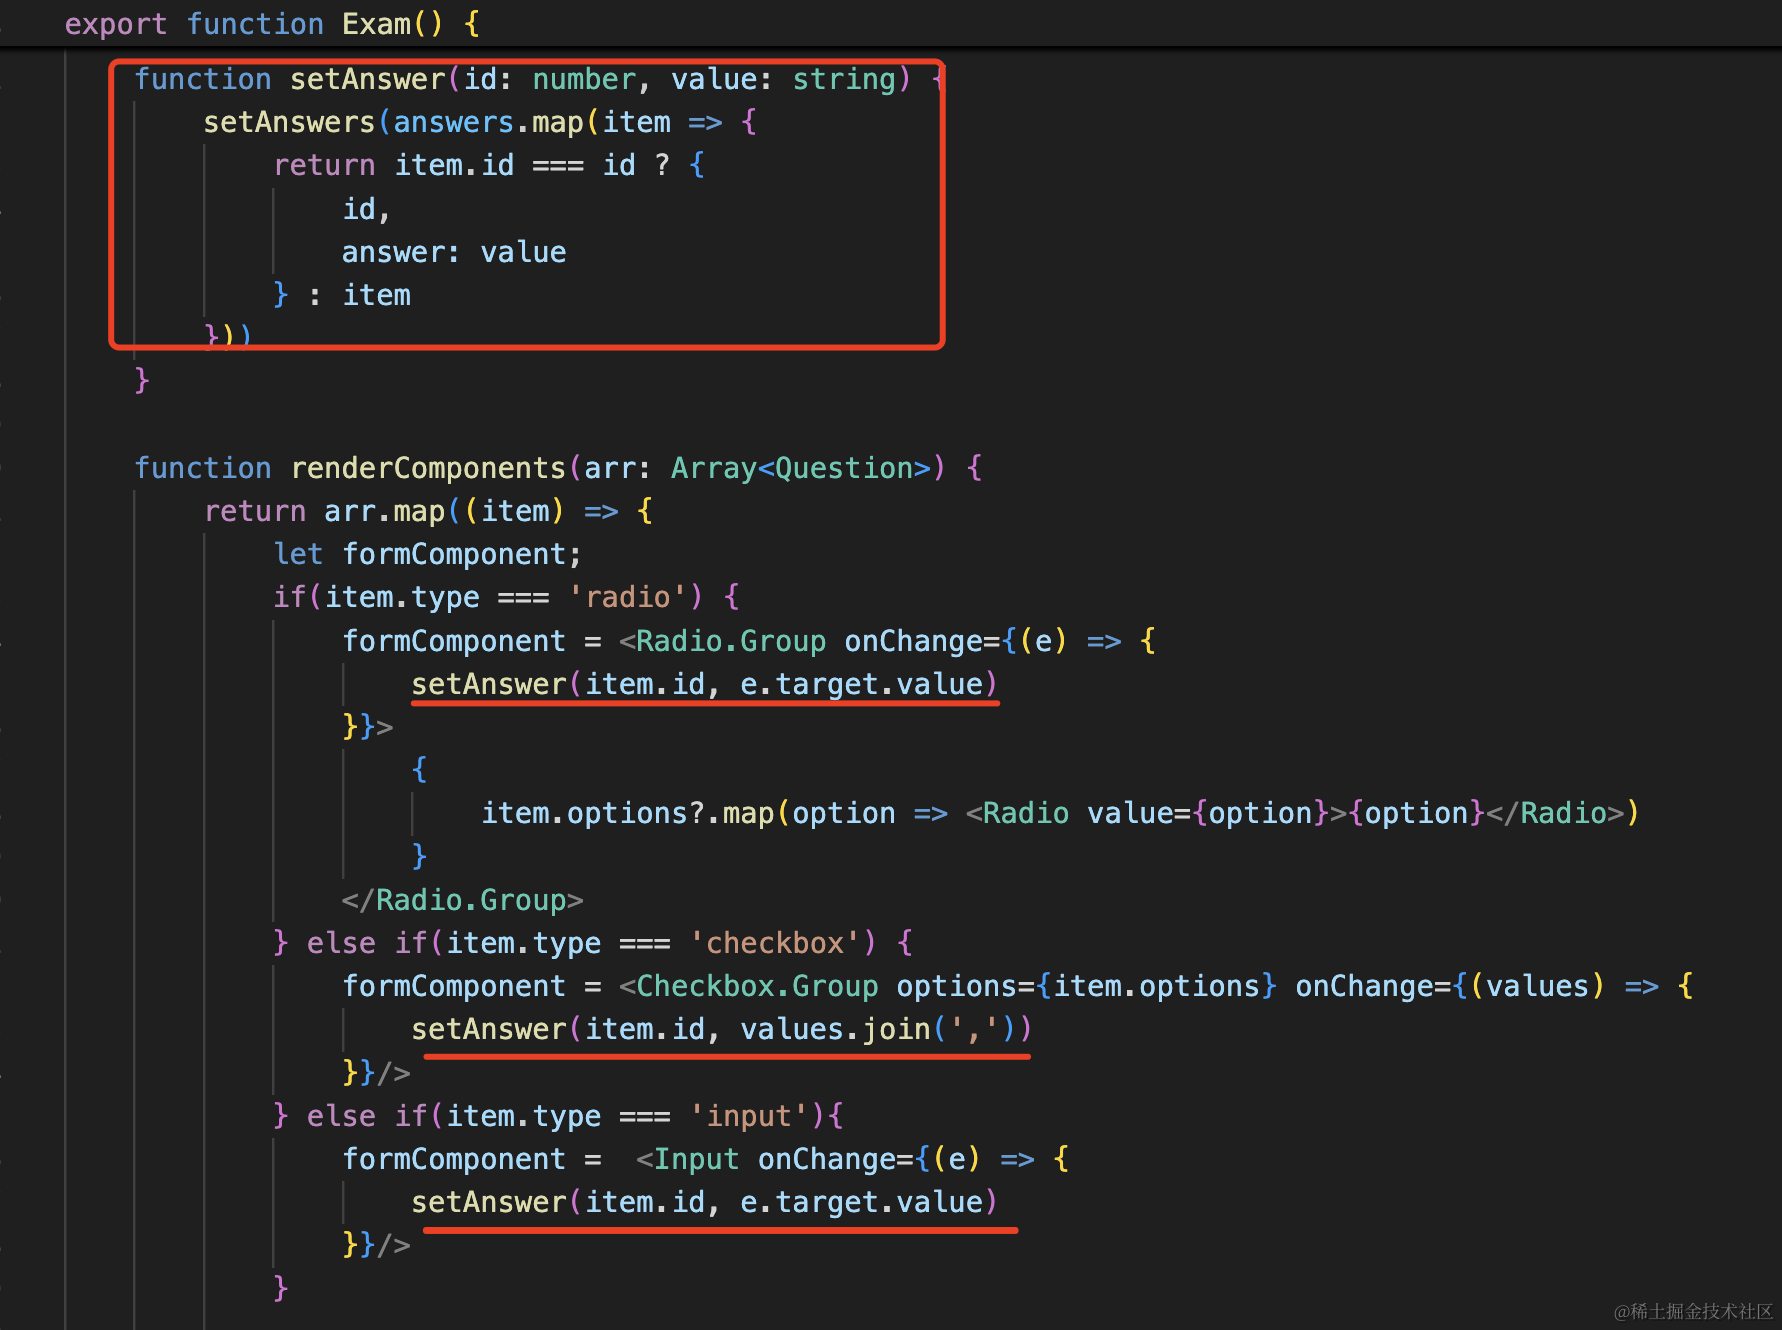
然后表单 onChange 的时候修改 answers 数组元素。
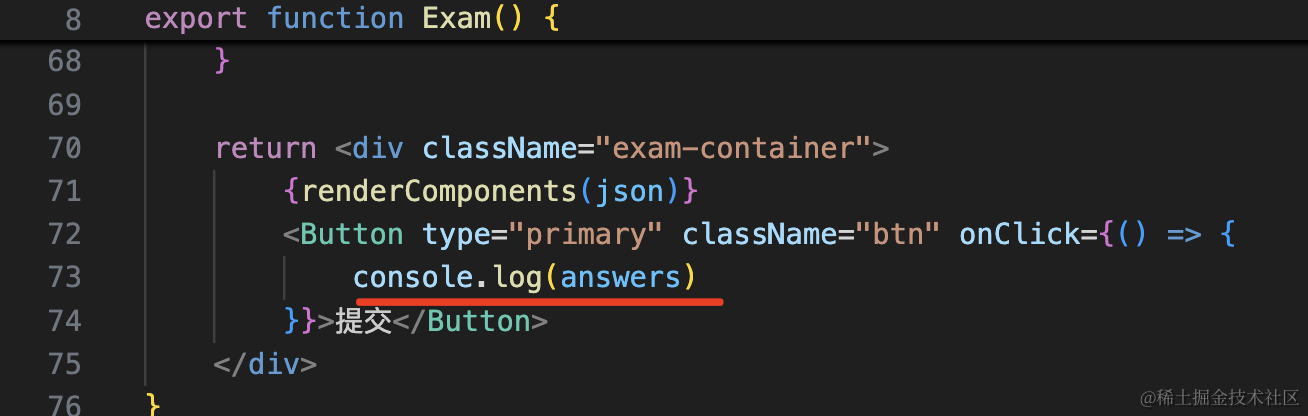
 点击提交的时候,打印下:
import { useEffect, useState } from "react";
import { useParams } from "react-router-dom";
import { Question } from "../Edit";
import { examFind } from "../../interfaces";
import { Button, Checkbox, Input, message, Radio } from "antd";
import "./index.scss";

export function Exam() {
    let { id } = useParams();
    const [json, setJson] = useState<Array<Question>>([]);
    const [answers, setAnswers] = useState<
        Array<{ id: number; answer: string }>
    >([]);

    async function query() {
        if (!id) {
            return;
        }
        try {
            const res = await examFind(+id);
            if (res.status === 201 || res.status === 200) {
                try {
                    const content = JSON.parse(res.data.content);
                    setJson(content);
                    setAnswers(
                        content.map((item: { id: number }) => {
                            return {
                                id: item.id,
                            };
                        })
                    );
                } catch (e) {}
            }
        } catch (e: any) {
            message.error(e.response?.data?.message || "系统繁忙,请稍后再试");
        }
    }

    useEffect(() => {
        query();
    }, []);

    function setAnswer(id: number, value: string) {
        setAnswers(
            answers.map((item) => {
                return item.id === id
                    ? {
                          id,
                          answer: value,
                      }
                    : item;
            })
        );
    }

    function renderComponents(arr: Array<Question>) {
        return arr.map((item) => {
            let formComponent;
            if (item.type === "radio") {
                formComponent = (
                    <Radio.Group
                        onChange={(e) => {
                            setAnswer(item.id, e.target.value);
                        }}>
                        {item.options?.map((option) => (
                            <Radio value={option}>{option}</Radio>
                        ))}
                    </Radio.Group>
                );
            } else if (item.type === "checkbox") {
                formComponent = (
                    <Checkbox.Group
                        options={item.options}
                        onChange={(values) => {
                            setAnswer(item.id, values.join(","));
                        }}
                    />
                );
            } else if (item.type === "input") {
                formComponent = (
                    <Input
                        onChange={(e) => {
                            setAnswer(item.id, e.target.value);
                        }}
                    />
                );
            }

            return (
                <div className="component-item" key={item.id}>
                    <p className="question">{item.question}</p>
                    <div className="options">{formComponent}</div>
                </div>
            );
        });
    }

    return (
        <div className="exam-container">
            {renderComponents(json)}
            <Button
                type="primary"
                className="btn"
                onClick={() => {
                    console.log(answers);
                }}>
                提交
            </Button>
        </div>
    );
}
试下效果:
接下来只要调用下新建答卷的接口就好了。
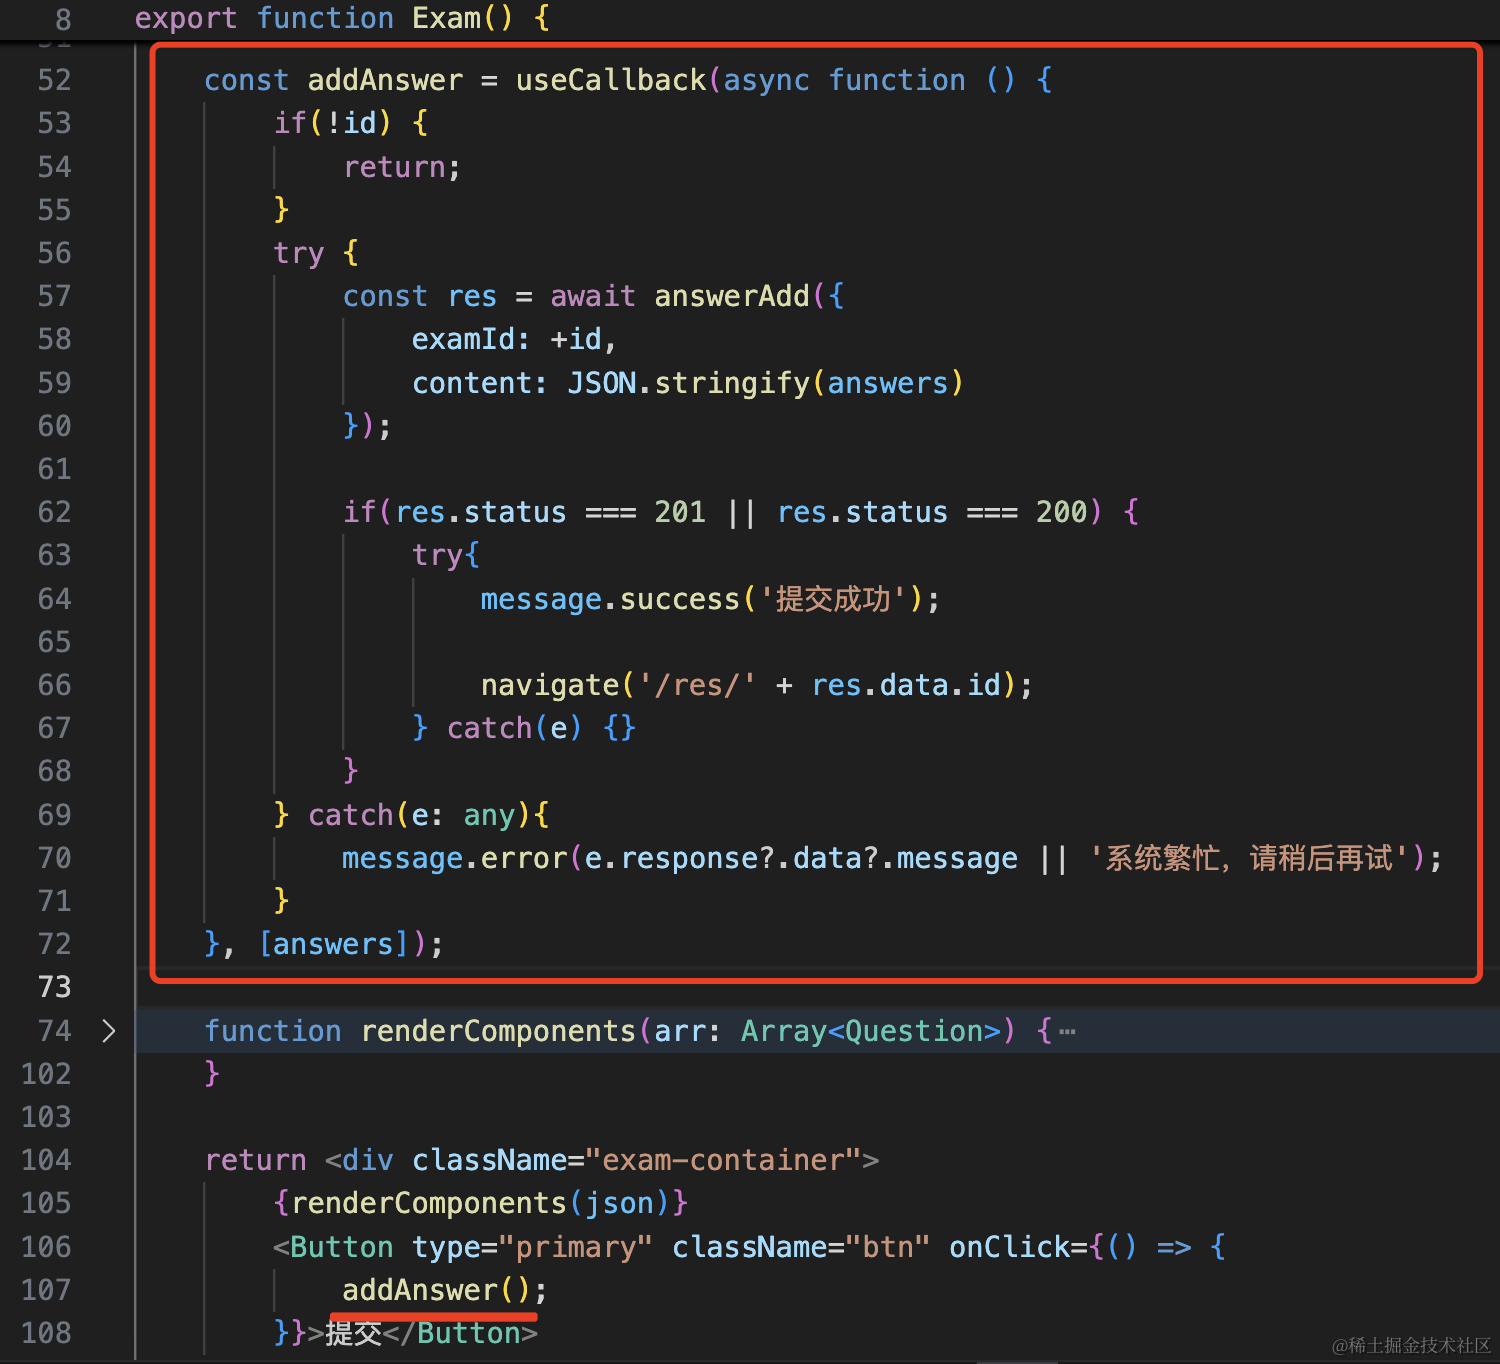
const addAnswer = useCallback(
    async function () {
        if (!id) {
            return;
        }
        try {
            const res = await answerAdd({
                examId: +id,
                content: JSON.stringify(answers),
            });

            if (res.status === 201 || res.status === 200) {
                try {
                    message.success("提交成功");

                    navigate("/res/" + res.data.id);
                } catch (e) {}
            }
        } catch (e: any) {
            message.error(e.response?.data?.message || "系统繁忙,请稍后再试");
        }
    },
    [answers]
);
测试下:
提交成功,跳转的链接也是对的。
看下返回的响应:
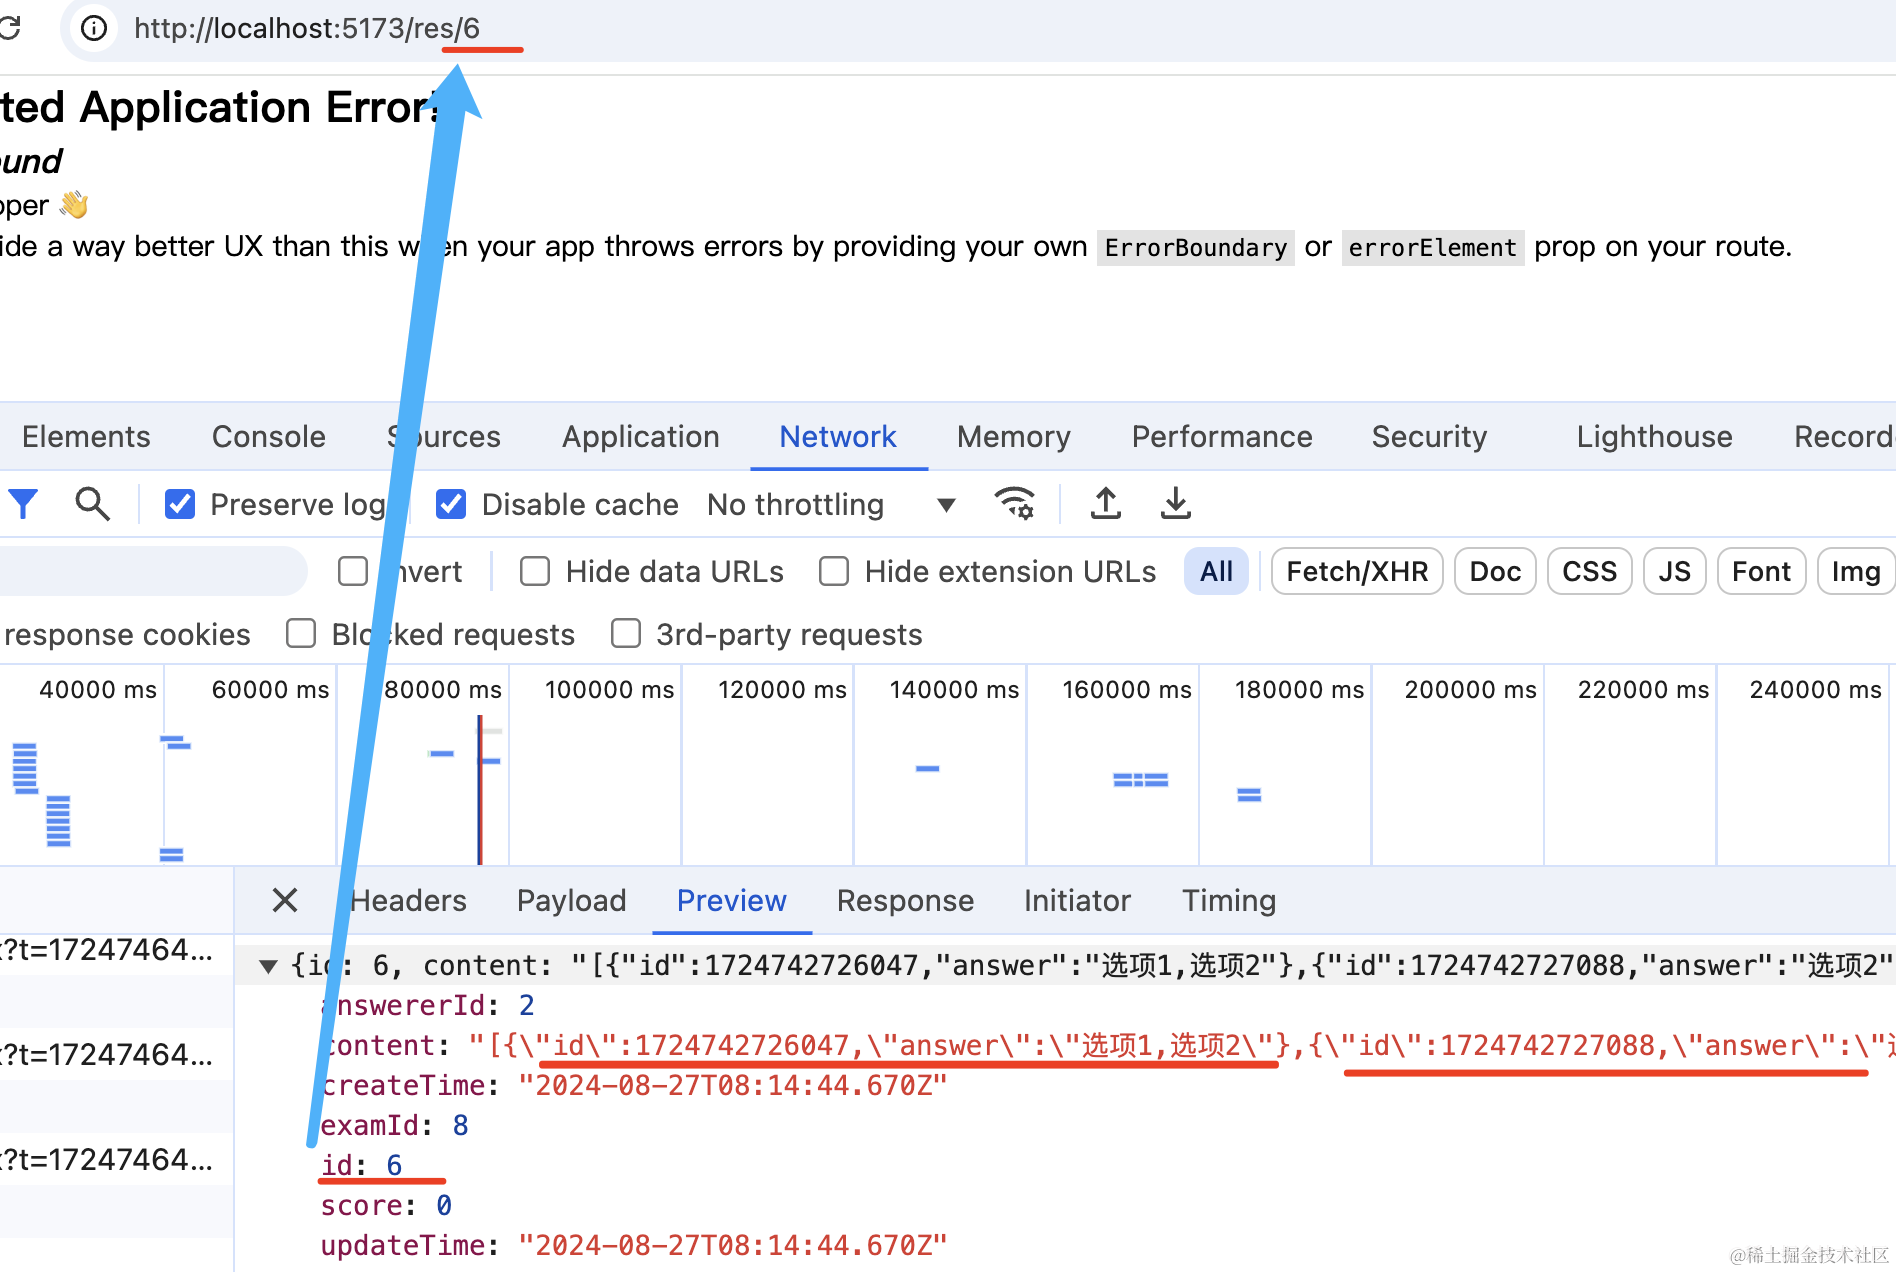
保存的答案也是对的。
案例代码在小册仓库:
总结
这节实现了答题页面。
编辑完考试可以生成链接,打开链接答题后就会保存提交的答案。
渲染试卷 json 的逻辑和预览时一样。
表单 onChange 的时候修改 answers 状态,当点击提交的时候调用接口保存答卷。
这样从新建考试,编辑试卷,到答题提交答案的流程就完成了。